
In-Depth Analysis of HSD ES369L Spindle Repair for Biesse Rover Plast B
In this comprehensive guide, we delve into the detailed process of HSD ES369L spindle repair, specifically conducted for a 5-axis Rover Plast B CNC machine from the esteemed Biesse Group. Understanding the intricacies of such repairs not only highlights the technical aspects but also emphasizes the importance of regular maintenance in CNC machinery to ensure longevity and optimal performance.
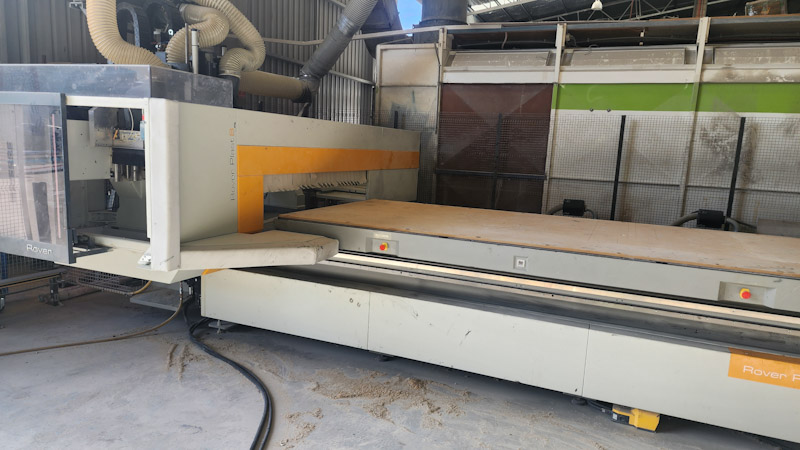
During its operation, the HSD ES369L spindle faced significant challenges, particularly due to the fine cement dust infiltration, which ultimately led to the damage of the bearings. This highlights the critical need for proactive maintenance, as neglecting regular inspections can result in severe mechanical failures.
Related Projects and Indications
PDMach has engaged in various spindle repair projects, showcasing our expertise in handling complex issues. For instance, our spindle repair project on the INTERMAC MASTER 45 is elaborated in this detailed overview. Additionally, you can find insightful information on HSD spindle sensors in this page, which can further assist in understanding spindle diagnostics.
Detailed Spindle Removal Process
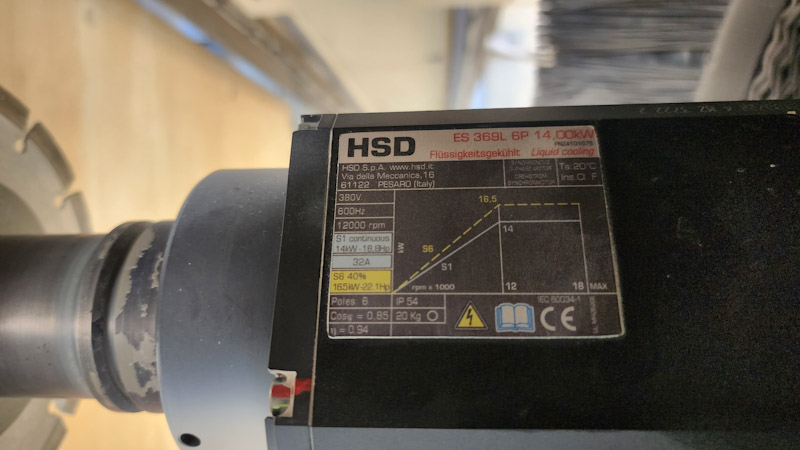
The spindle was thoroughly disconnected and removed as part of the spindle repair project. The Rover Plast B machine utilizes a robust 14kW synchronous spindle designed to achieve higher power-to-weight ratios, operating efficiently at speeds up to 12,000 RPM.
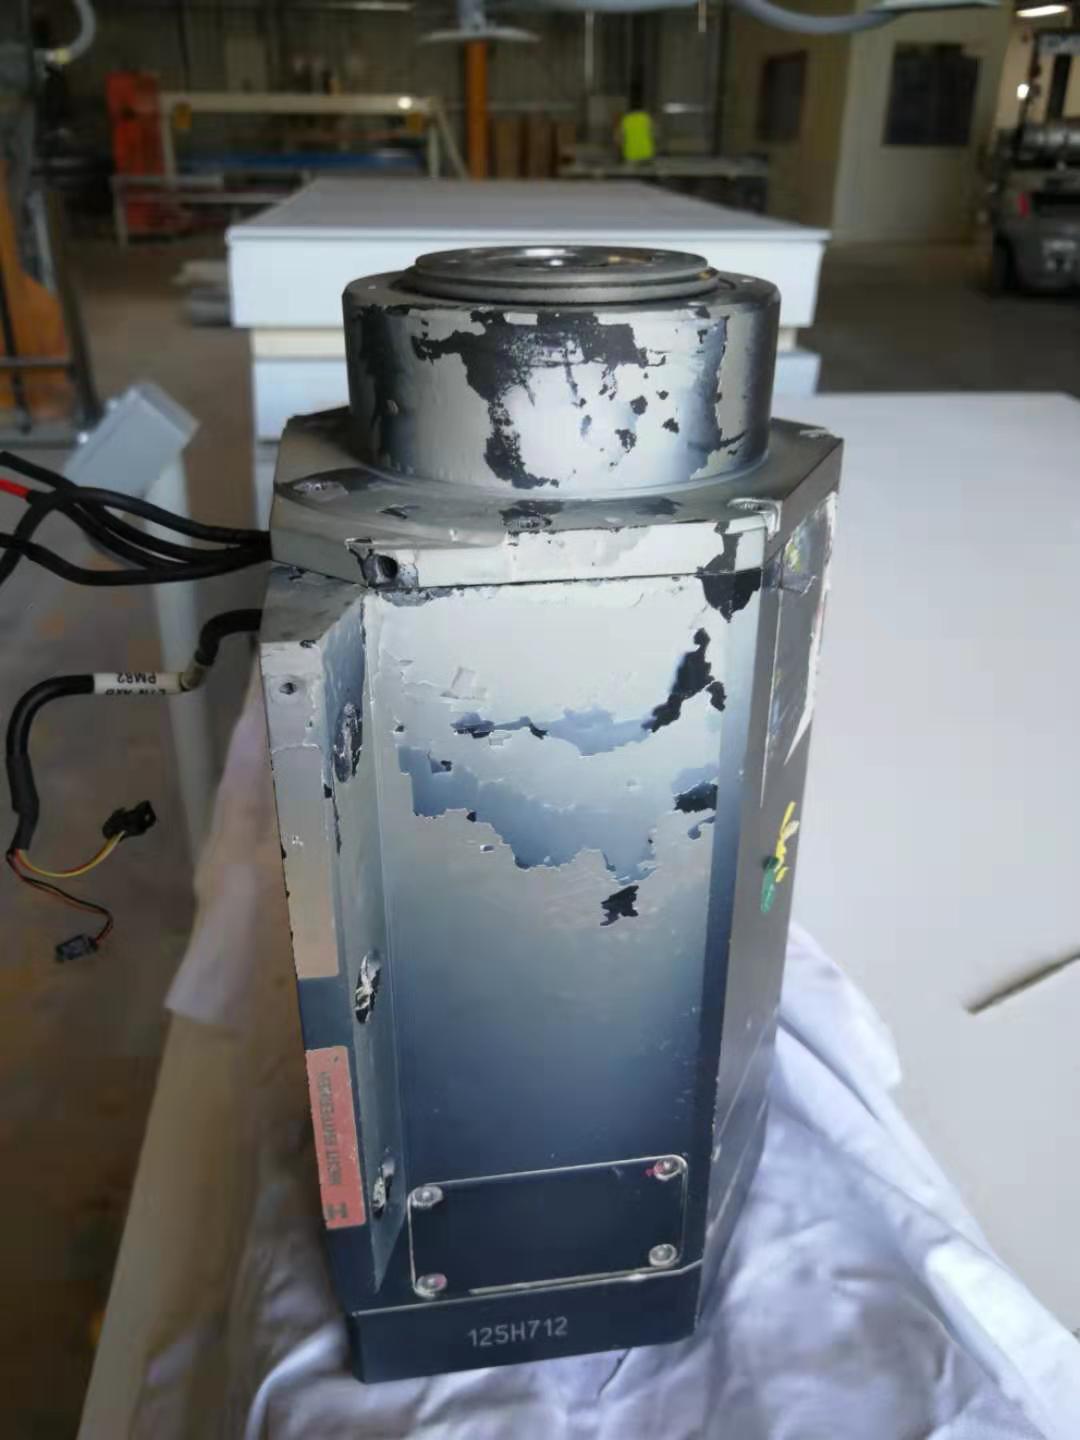
The spindle shaft was successfully detached by removing the bottom socket M6 bolts. This straightforward process allows for easier assessments of spindle integrity and preparation for replacement parts.
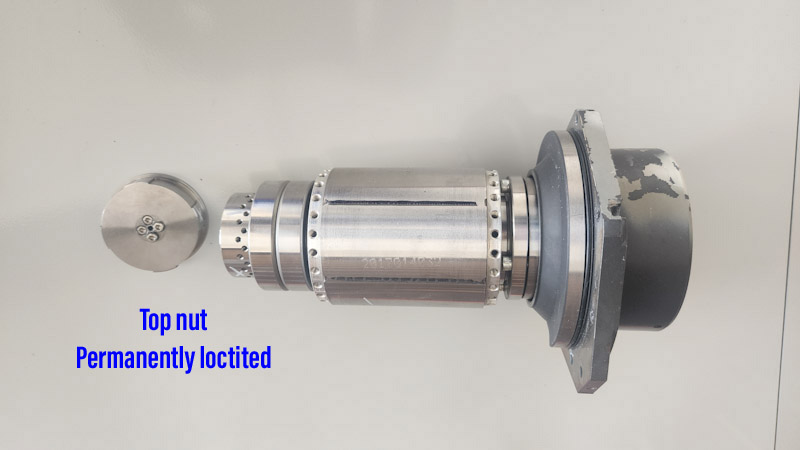
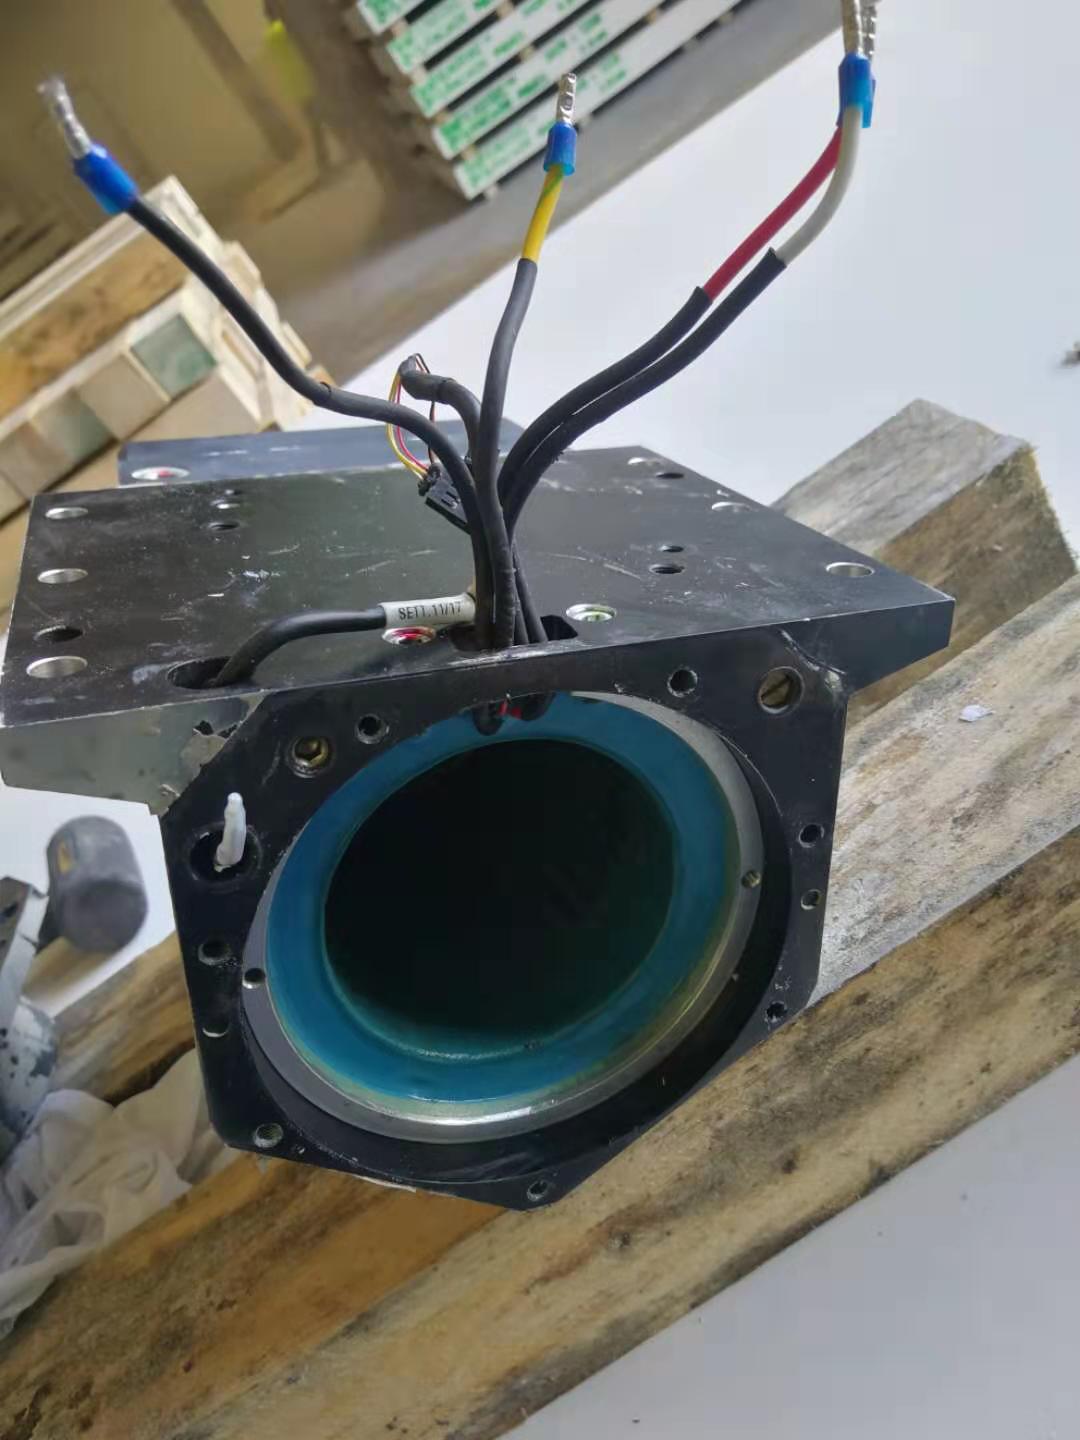
The image above illustrates the spindle’s stator, which is crucial for the spindle’s effective operation. Proper handling and installation of this component can significantly enhance the spindle’s performance. A vital consideration during spindle maintenance includes the top nut known for its unique design requiring heating to 250°C before removal, ensuring the efficient extraction of 7007 bearings and the rotor.
Bearing Removal Techniques
The removal of the bearings was carried out using a specialized tool. This tool was designed with a flat bar that features four 3mm holes, allowing for efficient performance. To disassemble the nut safely, it was essential to heat it up to 250°C while simultaneously engaging a spring clamp to relieve pressure. Alternatively, a fabricated tool can assist in pulling down the spring clamp shaft, facilitating the removal of the top nut.
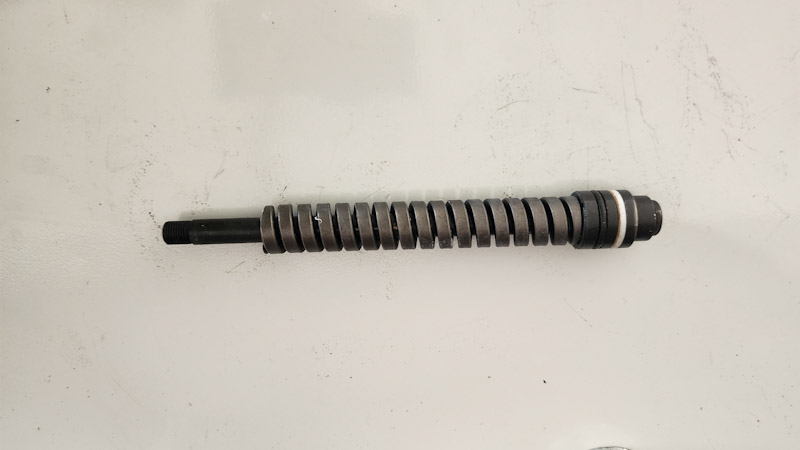
It is crucial to note that the nut is left hand threaded, an aspect that may pose challenges if overlooked during disassembly procedures.
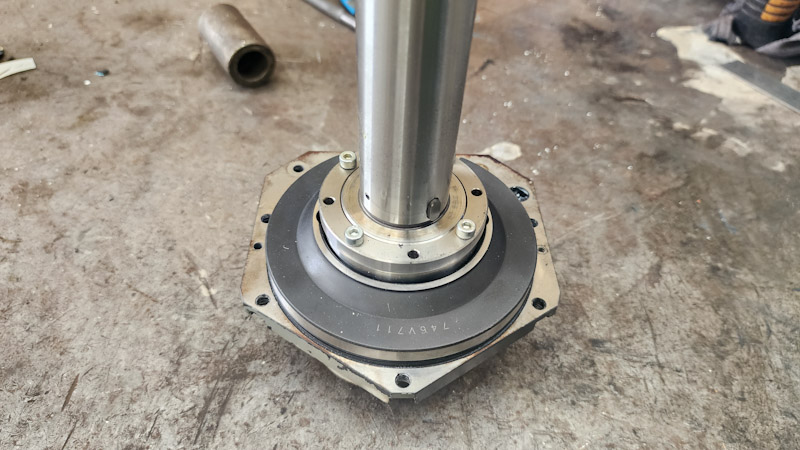
The process for shaft removal involved undoing a double nut system. Initially, the four bolts were merely loosened, followed by the simultaneous removal of the nuts. It’s essential to remember that these nuts are also left hand threaded, which may complicate precision disassembly.
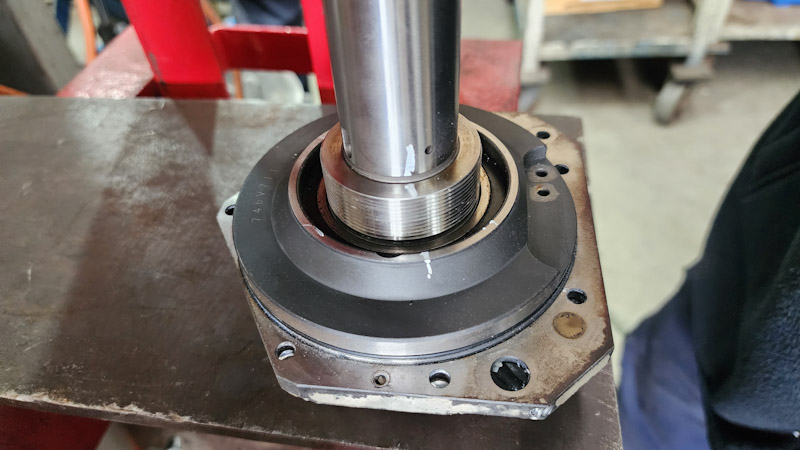
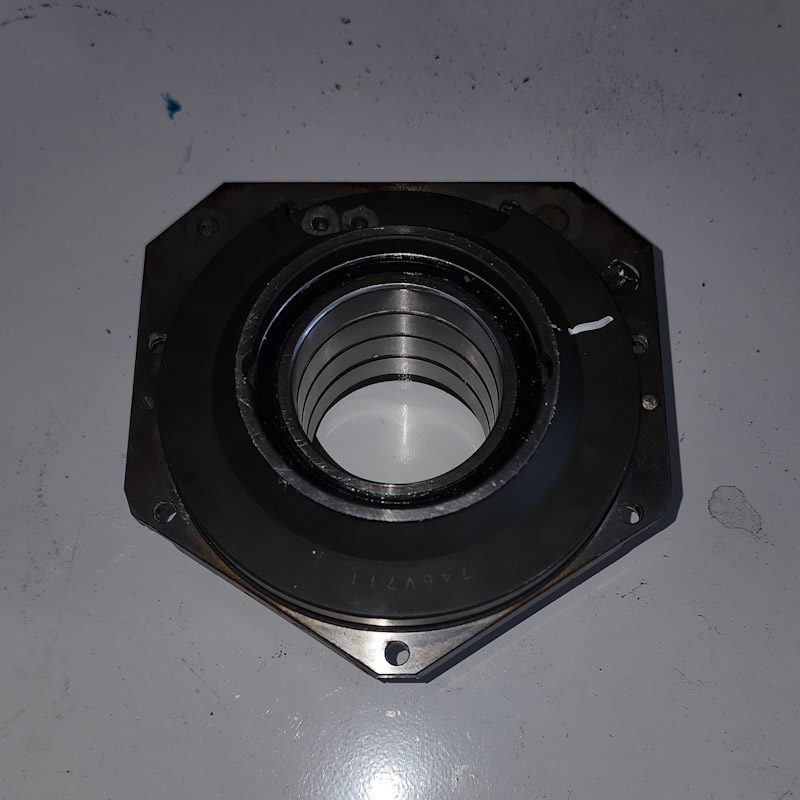
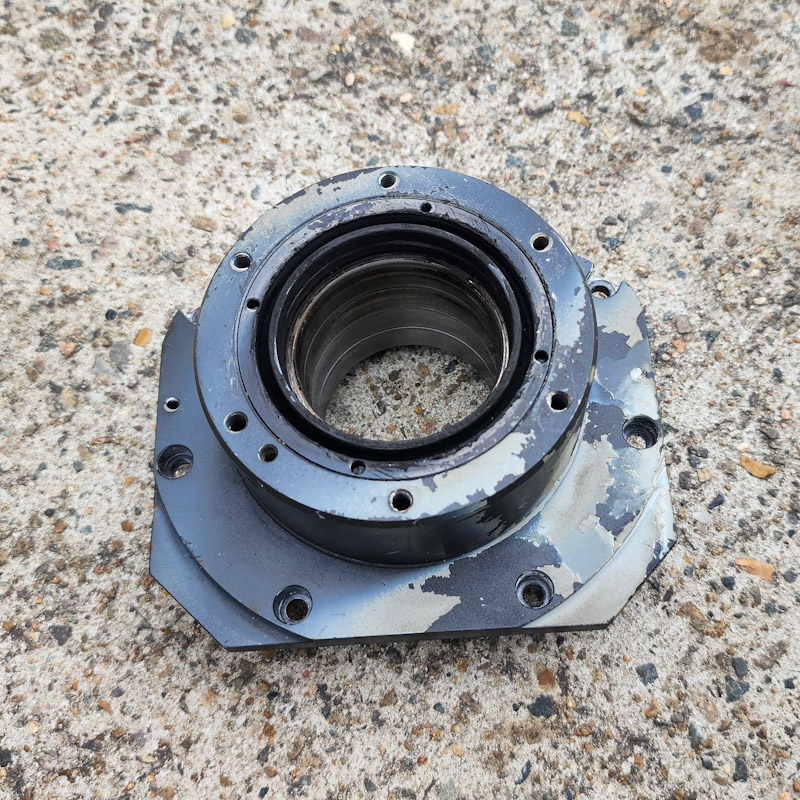
Interestingly, the spindle shaft is designed to fit snugly within the 50BNR19H bearings, allowing for easy disassembly without the need for a hydraulic press. This aspect expedites the repair process, making maintenance more manageable and less labor-intensive.
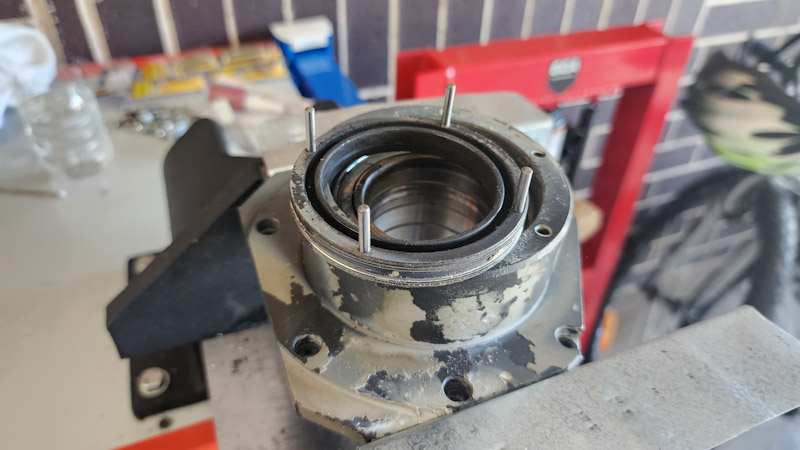
To properly remove the 50BNR19H bearings, the upper left hand threaded nut must be unfastened using the specially designed flat bar tool that integrates the 3mm pins for better grip and control.
Understanding Bearing Arrangement
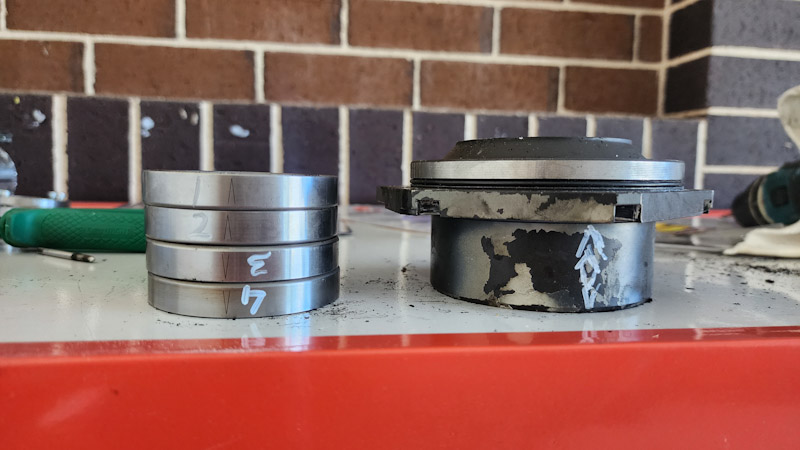
The bearing arrangement for the HSD ES369L spindle includes a DBB configuration as per NSK specifications. This setup ensures stability and proper load distribution, crucial for efficient spindle operation.
Specifications of HSD ES369L Spindle Bearings
The spindle repair process utilizes NSK super precision bearings, further elaborated in detail on this guide. Below are the specifications for the HSD ES369L spindle bearings.
7007