
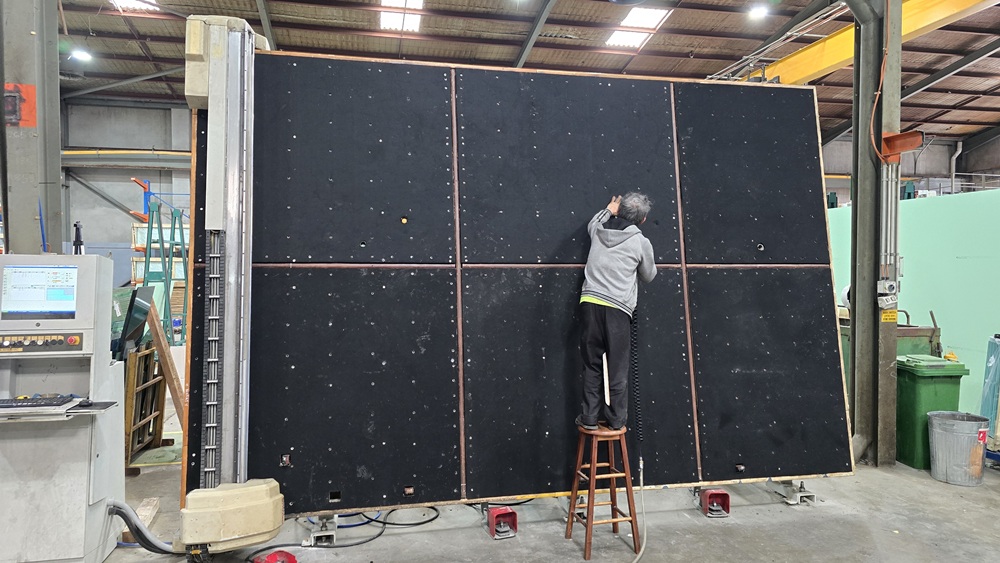
Worn felt on a glass cutting table leads to lost air flotation pressure, trapped glass chips, and scratched glass sheets. Replacing 4.5mm industrial black glaziers felt over an MDF bed with air jet ports or in other word, recarpet an Air-Flotation Glass Cutting Table, is a straightforward job when done with the right techniques.
Here is a step-by-step workshop guide for stripping old adhesive, cutting precision air ports, and laying down fresh felt.
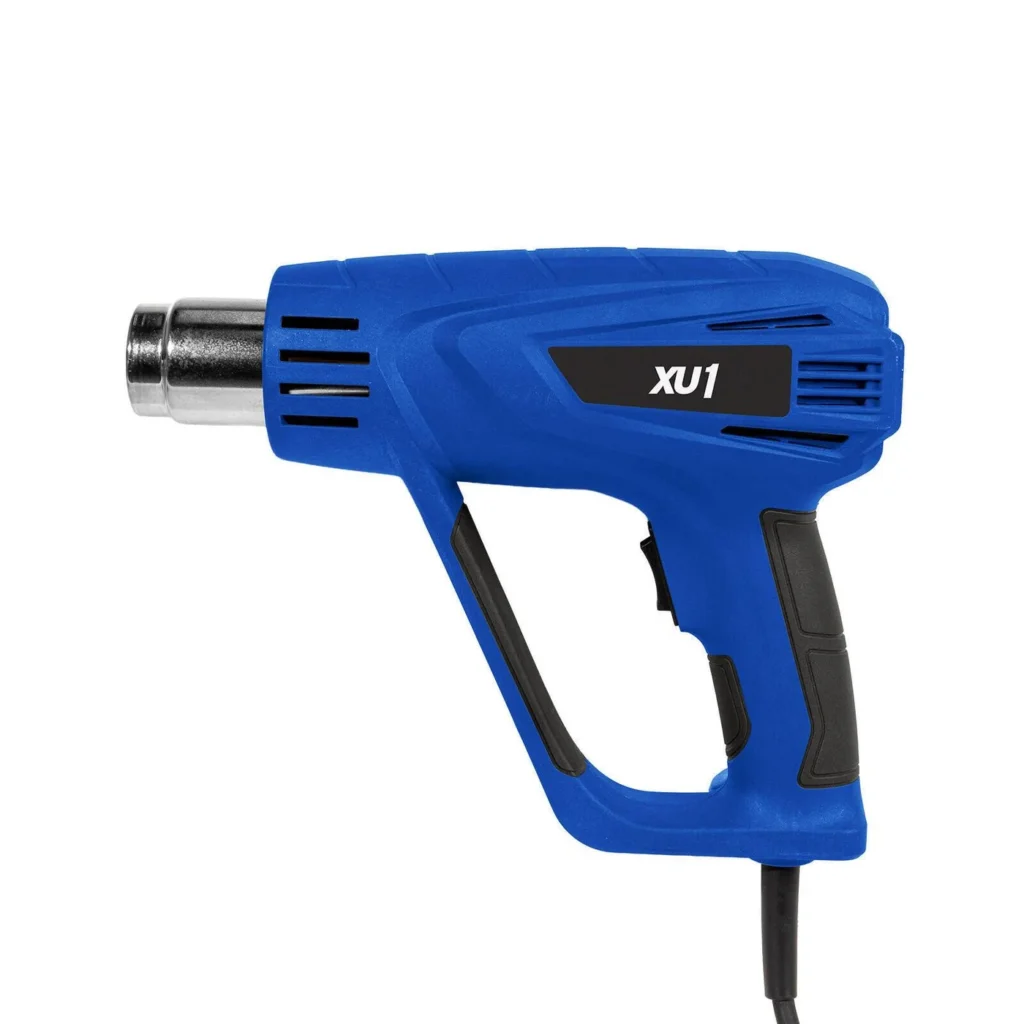
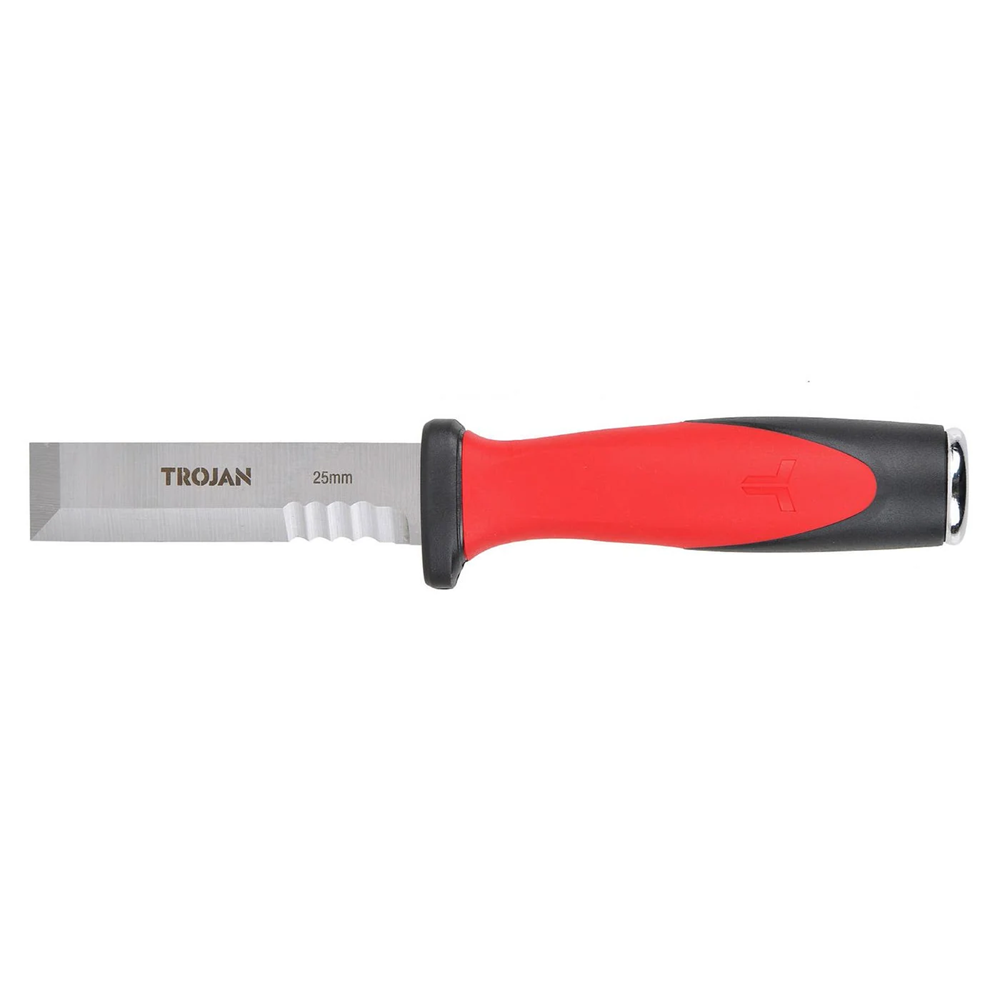
1. Required Tools & Supplies
- Replacement Felt: NFK 4.5mm Black Table Felt (2m width, Stock Code
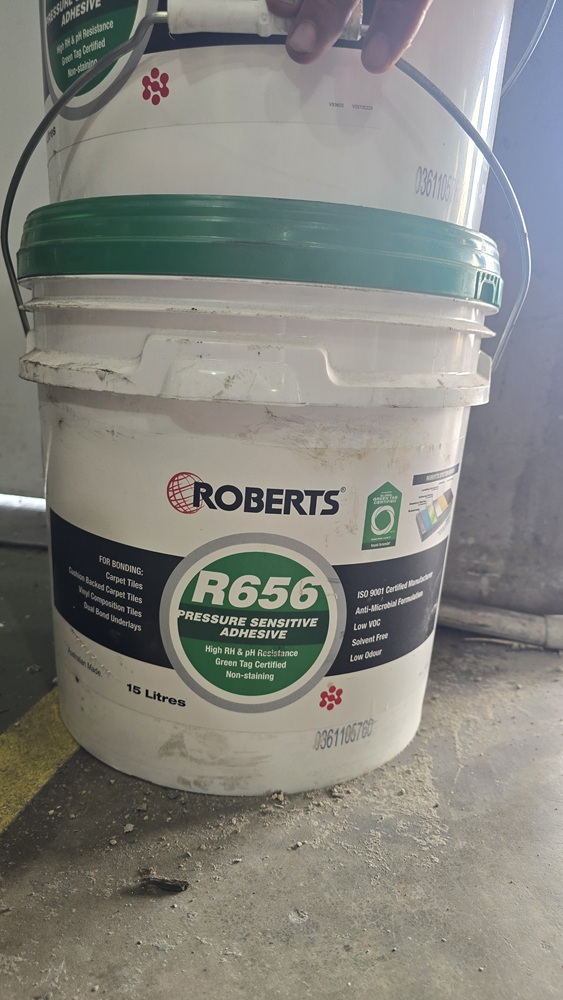
16-TD.5601) - Adhesive: Roberts R656 Pressure Sensitive Adhesive (water-based acrylic)
- Stripping & Scraping: Heat gun, Utility knife, 25mm Side Strike Chisel
- Solvent: Spray bottle of Methylated Spirits & shop towels
- Application Equipment: Paint roller, roller tray, and a 4mm V-notch adhesive spreader
- Hole Punching Setup: Steel hollow leather punch, hammer/mallet, and a 75mm thick solid plastic backing block (laminated 25mm/30mm high-density vinyl or HDPE)
- Protection: Heavy-duty plastic drop cloth
2. Step-by-Step Replacement Process
Phase 1: Stripping Worn Felt & Softening Old Adhesive
- Section the Carpet: Press a sharp utility knife into the worn carpet while it is still attached to the table bed and score parallel lines to divide the surface into 150mm wide strips.
- Apply Heat: Focus a heat gun over a 150mm × 150mm section. Watch for the black felt fibers to shift color slightly as the acrylic adhesive bond softens underneath.
- Pry with a Side Strike Chisel: Slide a 25mm Side Strike Chisel flat against the timber bed under the heated section. Slicing with the chisel edge strips away the old felt without gouging the wood substrate.
- Clean the MDF Bed: Spray residual glue patches with Methylated Spirits. Allow 1 to 2 minutes for the acrylic to break down, then scrape back to clean timber using the flat of the side strike chisel.
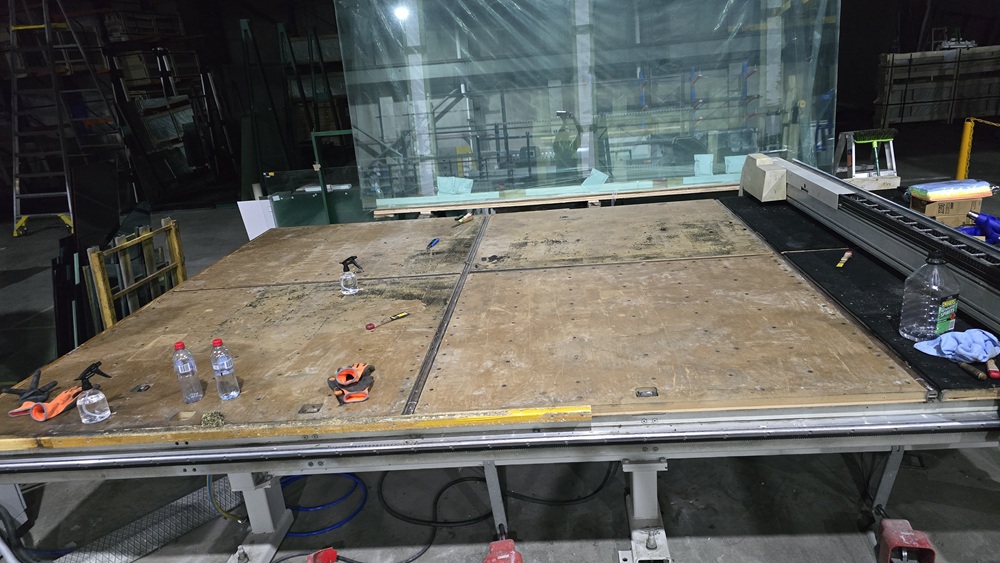
Phase 2: Precision Air Hole Marking & Punching
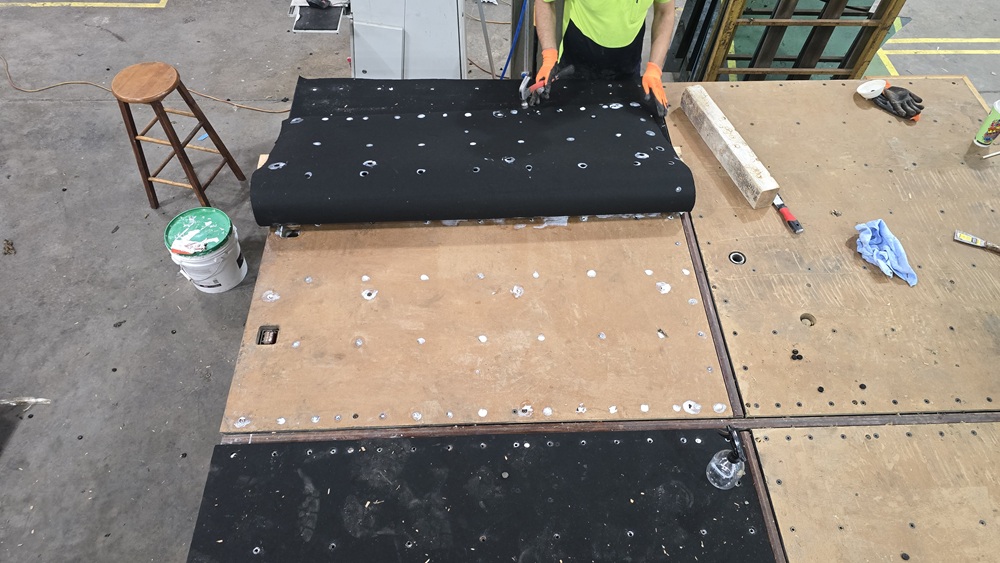
- Anchor the Starting Edge: Unroll the 2m felt across the bed, leaving roughly 20mm overhang around the edges. Flush one edge against the table frame and secure it temporarily with 4 small tacks.
- Transfer Hole Positions: Fold half of the felt sheet back over itself to expose the bare MDF bed. Dab small spots of fresh glue directly onto the top rim of every air valve orifice. Carefully press the felt back down flat to transfer clear, white glue dots onto the felt backing.
- Punch cleanly over a Plastic Anvil: Lift the carpet back up. Slide a 75mm solid plastic block (laminated vinyl/HDPE sheets) directly beneath the target dot. Place the hollow punch over the mark and strike firmly.
Workshop Tip: Punching felt directly against wood or MDF compresses the grain and dulls punch blades. Using a thick plastic block acts as a self-healing anvil that shears clean holes through 4.5mm felt without tearing.
Phase 3: Adhesive Spreading & Rolling
- Roll the Initial Layer: Pour Roberts R656 into a paint tray. Use a standard paint roller to apply an even base coat across the timber surface.
- Comb the Ridges: Immediately pass over the wet glue with a 4mm V-notch plastic adhesive spreader to leave uniform ridges for optimal suction and height control.
- Lay & Press: Unfold the pre-punched felt onto the wet bed, working outward from the anchored edge to smooth out air pockets.
- Protect the Surface: Cover the freshly laid carpet with a heavy-duty plastic drop cloth. This allows you to walk across the bed to trim perimeter edges without transferring wet glue or footwear dirt onto the fresh felt.
3. Re-Ordering Information
| Detail | Specification |
| Supplier | NFK Glazing & Industrial Supplies Pty Ltd |
| Product | Table Felt 4.5mm Thick × 2m Black |
| Stock Code | 16-TD.5601 |
| Adhesive | Roberts R656 Pressure Sensitive Adhesive (15L Pail) |